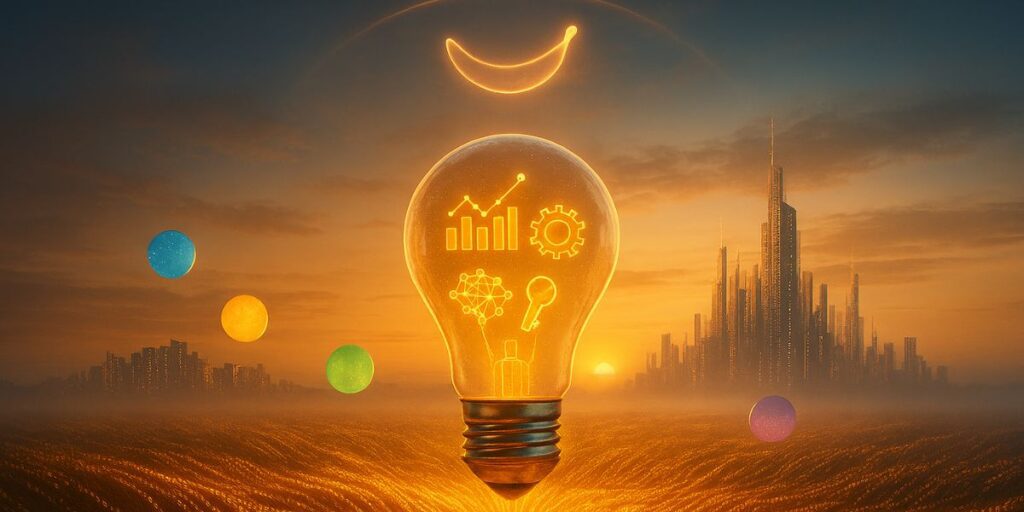
Gigapixel AI is a desktop and plugin tool from Topaz Labs that uses deep learning to upscale images by up to 600 percent while keeping details sharp and natural. It works on portraits, landscapes, AI art, scans, and more, and is used by photographers, designers, and even creative teams that need large, clean images for print or web. In simple words, it is an AI photo enhancer that focuses on resolution and detail, not on weird overdone effects.
Main Features
AI photo enhancer: Upscale images up to 6x with crisp edges and natural textures, perfect for posters or prints.
Photo restoration: Revive old, faded, or noisy scans with clarity and detail, keeping their original character intact.
Face recovery: Sharper, realistic eyes, lips, and skin without the plastic look, ideal for group shots or selfies.
Multiple AI models: Tailored options for general photos, art, or removing blur and noise, with fine‑tuned control.
Flexible use: Works as standalone app or plugin, supports batch processing for entire albums in one go.
Local & cloud rendering: Private on your device or faster in the cloud, giving pros and casual users flexibility.
Overall impact: Whether restoring family albums or sharpening modern shots, Gigapixel AI makes every image look fresh, detailed, and ready for today’s screens.
How Does It Help?
Gigapixel AI helps in very practical, real world situations, not just fancy demos. Here are some key ways it solves real problems with photo restoration and everyday editing.
a) Saves Low Resolution Photos
It can rescue small photos from old phones or social media downloads by increasing their resolution and cleaning up blur. Instead of a pixelated mess when you zoom in, you get a usable, sharp image that you can post, print, or crop as needed.
b) Makes Old Memories Look New
By combining noise reduction, sharpening, and detail recovery, Gigapixel AI breathes life into scanned albums and archive photos. This is especially helpful for families, historians, creators, or anyone doing serious photo restoration work on old prints and negatives.
c) Improves Professional Projects
Designers, photographers, and marketers can turn average size images into large, clean assets for posters, ads, or website hero images without re shooting. The AI photo enhancer makes prints look crisp on high resolution displays and big banners, which improves the overall professional feel of a project.
d) Enhances AI Art and Digital Work
If you create AI images or digital art that come out small, Gigapixel AI can upscale them while preserving brushstrokes and texture. This lets you use AI art for print, merch, or full screen backgrounds with far better quality than basic upscalers.
e) Fixes Compression and Cheap Uploads
Online platforms often compress your pictures, leaving ugly blocks and softness. Gigapixel AI includes controls to fix compression artefacts, restore edges, and clean up details so that re downloaded or reused images still look sharp.
Real Life Examples (Fun and Detailed)
Old picnic photo (640×480): You find a 10 year old, 640 by 480 picnic photo where everyone looks like a group of colourful Lego heads. With Gigapixel AI, you upscale it, recover facial details, smooth the noise, and suddenly you can see who stole the last samosa in shocking clarity.
Tiny client logo to big banner: A client sends you a tiny logo and says, “Please make this into a huge banner for our event tomorrow.” Instead of sending them a panic emoji, you run the logo through the AI photo enhancer, upscale it, fix jagged edges, and deliver a clean design that looks like it came from a proper vector file.
Small AI art to wall poster: Upscale while keeping fine texture, your casual prompt becomes limited-edition living room art.
Faded family photos for TV: Scan, apply photo restoration, upscale, host an emotional slideshow where grandpa’s moustache steals the show.
Soft wallpaper on 4K monitor: Enhance, remove compression artefacts, desktop transforms into a cinematic, razor-sharp scene.
Blurry concert selfie: Face recovery sharpens your friend, keeps background tastefully noisy, exactly how concerts feel, but now printable.
Use Cases

Restoring family photo albums:
Clean noise, sharpen faces, and enlarge old prints for slideshows, albums, or framed keepsakes.
Boosting social media content:
Use the AI photo enhancer to upscale phone shots or screenshots so reels, thumbnails, and posts look sharp and professional.
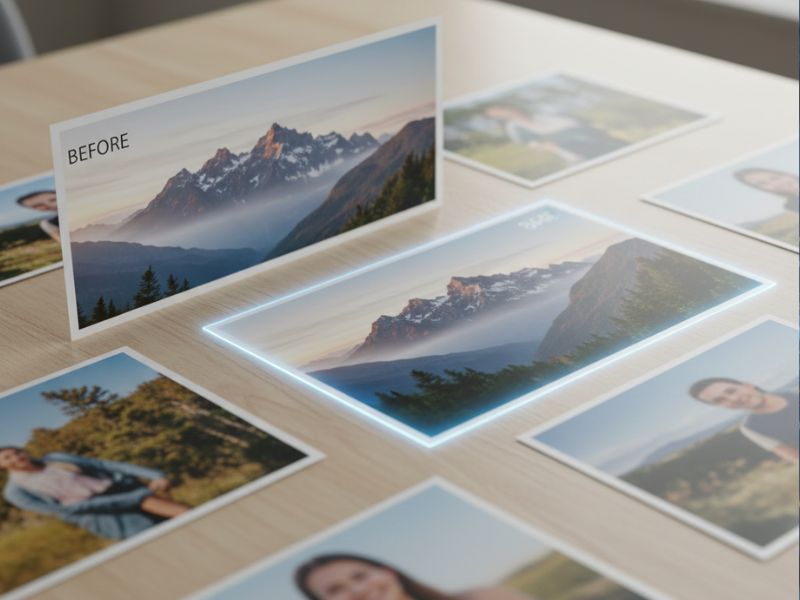
Preparing large prints & posters:
Photographers and designers can print big without losing detail, event posters and marketing material stay crisp.
Enhancing e‑commerce photos:
Upscale product shots for cleaner, more trustworthy listings; photo restoration reduces noise and compression.
Upgrading AI‑generated art:
Convert small generations into high‑resolution assets for prints, wallpapers, or book covers with preserved texture.
Improving blog & website visuals:
Upscale older images so sites look modern and polished on today’s high‑resolution displays.
Stay ahead with our Tool of the Day—one brilliant AI or tech gem spotlighted daily to elevate your workflow. For deeper breakthroughs, our Weekly Tech & AI Update delivers trends, tips, and future-ready insights. One scroll could change your game. Go explore.
Getting Started in 3 Steps
1) Download and Install
Go to the official Gigapixel page at Topaz Labs, download the installer for your system, and follow the simple setup steps. There is a free trial, so you can test the AI photo enhancer on your own photos before paying.
You can check it out here: https://www.topazlabs.com/topaz-gigapixel.
2) Open an Image and Choose a Model
Launch the app, drag in a photo, and pick an AI model that fits your image, such as general, high quality, or a mode focused on restoration. You can set how much to upscale, preview the result, and adjust sliders for noise, blur, and compression.
3) Preview and Export
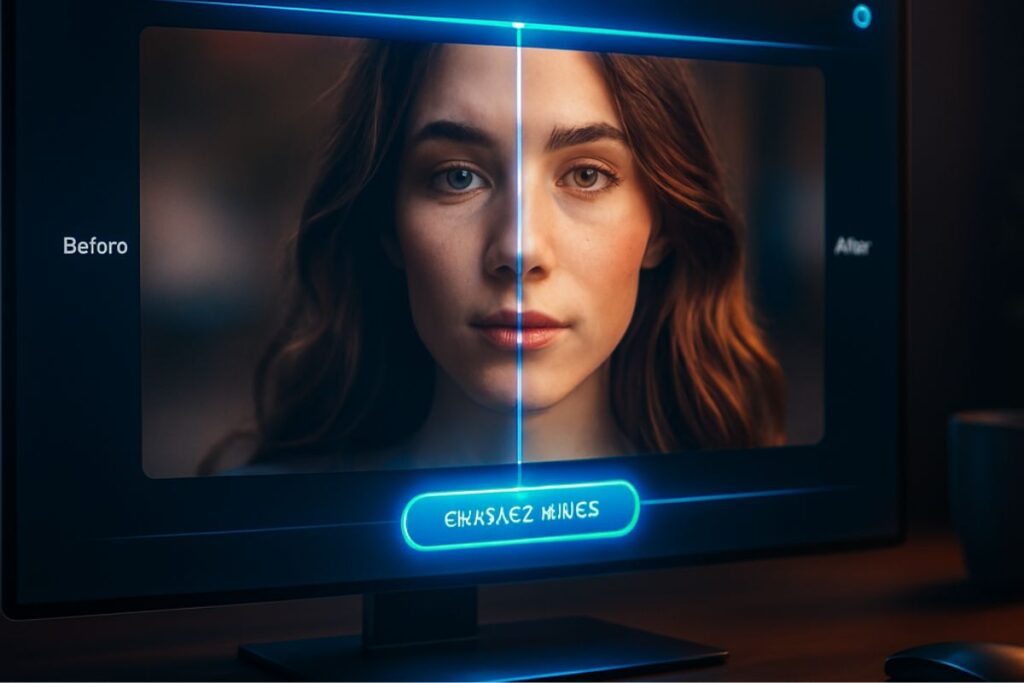
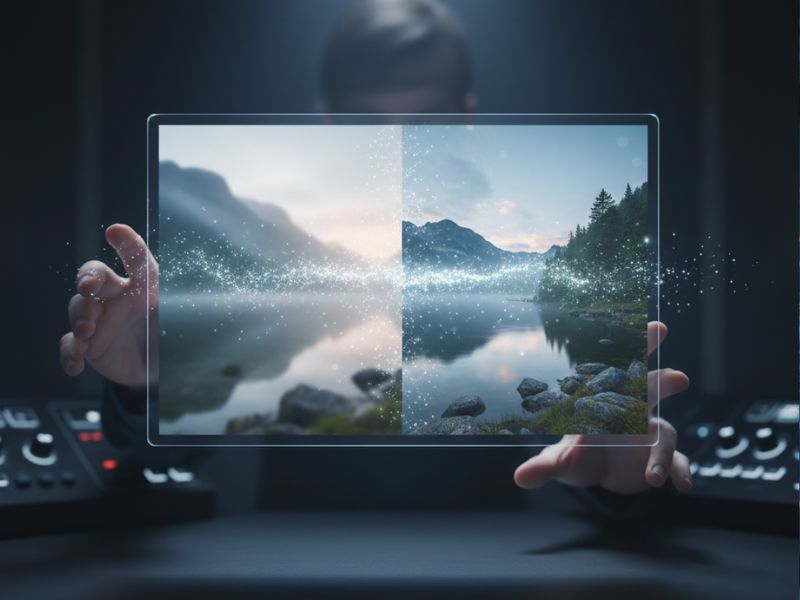
Use the split view to compare before and after, tweak settings until you are happy, then export the final image at your chosen size and format. For large projects, you can add multiple photos and run them all as a batch while you do something more important, like making coffee or scrolling memes.
Real Life Examples to Bring These Use Cases Alive
Facebook Download Special Friend’s tiny Facebook profile pic becomes a sharp birthday banner thanks to the AI photo enhancer.
Retro Wedding Album Noisy 90s scans restored—bride’s dress and jewellery sparkle again with photo restoration magic.
Last Minute Poster Panic Small group photo upscaled and sharpened into a crisp event poster, saving the day.
Museum of Family Memes Childhood scans cleaned and enlarged—your hallway becomes a sharp, hilarious family gallery.
Side Hustle Upgrade Freelancer fixes compressed product shots; listings look pro, clients think you swapped their camera.
AI Artist’s Big Print Dream AI portraits upscaled with detail intact—suddenly they’re sellable as large, stunning prints.
Common Mistakes to Avoid
i) Pushing the Upscale Too Far for No Reason
Some people instantly jump to the maximum 6 times upscale even when they only need a small size increase. This can make processing slower and sometimes introduces a slightly artificial look if the original is very weak, so it is better to choose only the size you truly need.
ii) Using the Wrong AI Model
It is easy to just stick with one default model and ignore the others, but each mode is tuned for different types of photos. If you use a general model for detailed art or a face model on something without people, you might not get the best result, so experiment a bit and preview.
iii) Over Sharpening Already Sharp Images
When an image is already clean, too much enhancement can make it look crunchy or fake. Always use the preview to check if you are actually improving the photo or just adding extra “crispy” edges that no one asked for.
iv) Ignoring Noise and Compression Settings
Some users only focus on size and forget to tweak noise reduction or compression repair sliders. This can leave small artefacts or grain that the photo restoration tools could have fixed, so taking a few extra seconds to adjust them really helps.
v) Expecting Miracles from Totally Destroyed Photos
Gigapixel AI is powerful, but if an image is extremely low quality or heavily blurred, it cannot invent perfect reality. It will make things better and more usable, but do not expect a CCTV pixel blob to turn into a 4K movie still of your life.
Simple Examples of Mistakes
- Upscaling a tiny meme to poster size for a room and then wondering why it still looks a bit odd instead of stopping at a more reasonable size.
- Using a face model on a landscape photo and finding the grass looks strangely smooth instead of detailed.
- Cranking every slider to the maximum “because more is better” and ending up with a hyper sharp but unnatural look.
- Dropping a heavily compressed screenshot into the tool and expecting it to magically reconstruct text that was never readable in the first place.
- Forgetting to check previews and only seeing strange artefacts after exporting a big batch of upscaled images.
Friendly Wrap Up and Beginner Tips
Gigapixel AI is a powerful yet approachable photo restoration and AI photo enhancer tool that can make old, small, and blurry images look surprisingly sharp and modern. With just a few clicks, it can save memories, fix low resolution assets, and help both casual users and pros get more out of their photos.
Beginner tips:
- Start with a few favourite photos and compare before and after carefully to see what each slider does.
- Use only the upscale level you truly need instead of always going for the maximum.
- Try different AI models on the same image and pick the one that looks most natural, not just the sharpest.
- Keep original files safe so you can always return and reprocess them as the software improves.
- Have fun with it, experiment on silly old photos, and do not be afraid to laugh at some of the early attempts, because half the joy of an AI photo enhancer is seeing just how much it can surprise you.